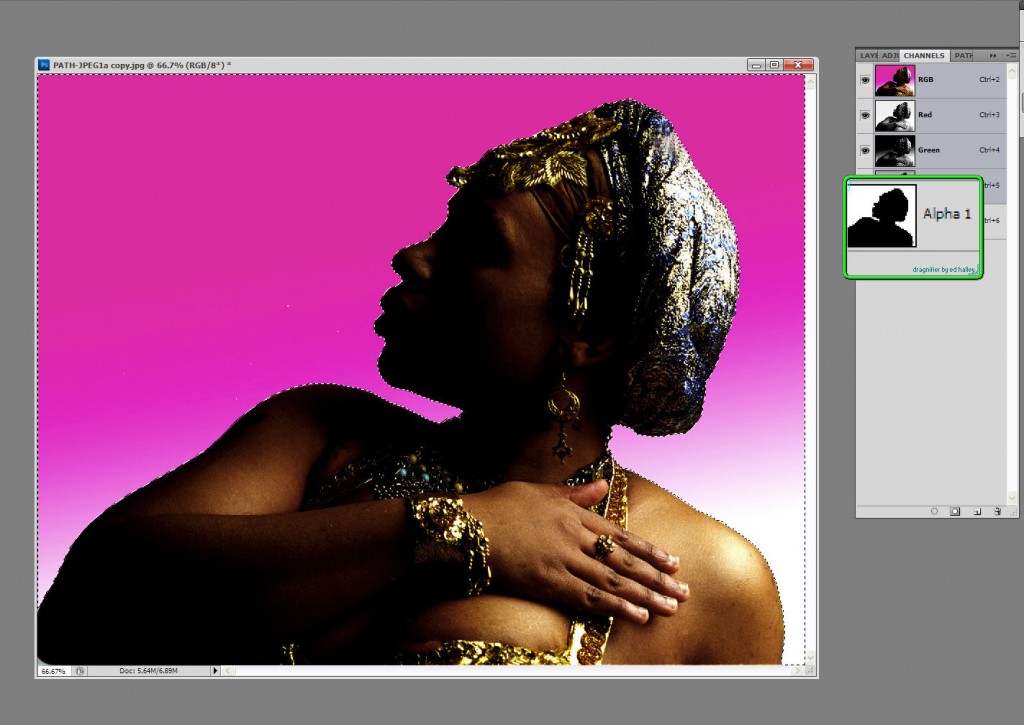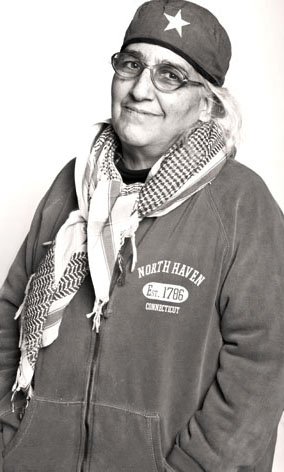
Selections are Alpha Channels that are used in creating Mask. Here is the main figure used in my composite, "Isis". ©Jarvis Grant 2012
Knowing how to make a selection in Photoshop is an artist’s secret weapon. It’s the most important tool/technique that one should master as early as possible. With that said, there is no single “best” ways to create a selection. Everyone has a couple of go to favorites. New students usually start with what Scott Kelby coins as the “Tragic Wand”. Once you understand that there’s more tragic than magic in that wand, you start to look for options. For many it’s using the Path Tool, which I personally hate! For others it can be the Color Range command. The folks at Adobe know that power and the pain of creating selections and have been developing the Refine Edge command into its on Panel in Photoshop since version CS4. Back in the day, those “marching ants” were at the heart of composting images for designers and illustrators. Yet today there can be more to making a composite than selections.
I’m thinking and writing about this topic because last week I put together an article on Examiner.com on Saving Selections in JPEG Files. When ever I do an article I first collect the images I’ll use for the article. Then I’ll go through what ever process I’ll be writing about to get the steps clear in my head. First, I wanted to choose an image that I could make a very simple selection with. I had a partial silhouette shot in the studio that would work fine. Went through th steps and made a few screen shots. I was done. The only thing needed now was a new background for the figure to illustrate the new image composite. No big deal, two layers and that will be that. I had a few NASA wallpapers from the Hubble Telescope web site I felt would make a quick and dirty yet fairly interesting image. In fact it turned out to be interesting enough that I seemed to be on a roll! So much so that I began to think about this blog post.

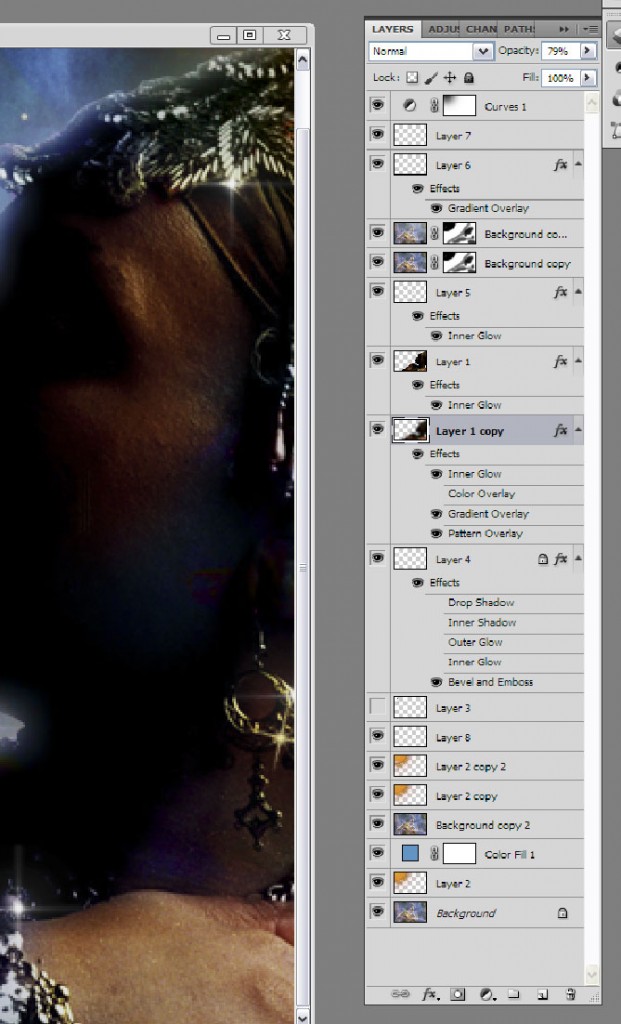
What started just to be two layers turned out to be a few more. ©Jarvis Grant 2012
What started as a simple story with two layers began to grow. Once the main story was invented, I needed to enhance the “mood” of the piece. To achieve this I began to use Blending Modes. The interesting thing was that I was still just using the the main images of the figure and her new background. Using Layer Masks, dupes of the background were now being place on top of the figure, with elements being hidden or accentuated. Portions of the figure were selected and moved to their own layer and painted with Layer Styles. I also had a little help from Flaming Pear and Dover Publications. Well my point here is to not really go into detail of how the new image was made, but to speak to the fact that when “building” a composite it takes more than just ‘marching ants”.
While the final image is a fantasy, as a photographer, I still need elements of reality to bring it altogether. What is the direct and ambient light doing? Along with a healthy dose of trial and error. For example the NASA image though stunning, had a few visual holes into once the two images were placed together. I didn’t want to select stars from the background, because it only had a few, and I waned a little more variety. I found a few “space and star” brushes on the Internet. Through some that “trial & error”, I placed my new “stars” on their on layers and used Gradient Overlay Layer Styles, set to radial mode to give my stars that refraction of color that telescope give to photographs.
This was a simple artistic exercise that also used another secret artistic ingredient, Fun! In having a little fun I learned a few tricks and techniques that will turn up later in future work. Or maybe not! What started out as one thing with one purpose grew into something else. It also shows that even through working with a computer can seem overly technical, in the end, Photoshop is just another tool for artist to use and flow with.

The final composite (so far!), of "A Dream of Isis" ©Jarvis Grant 2012
